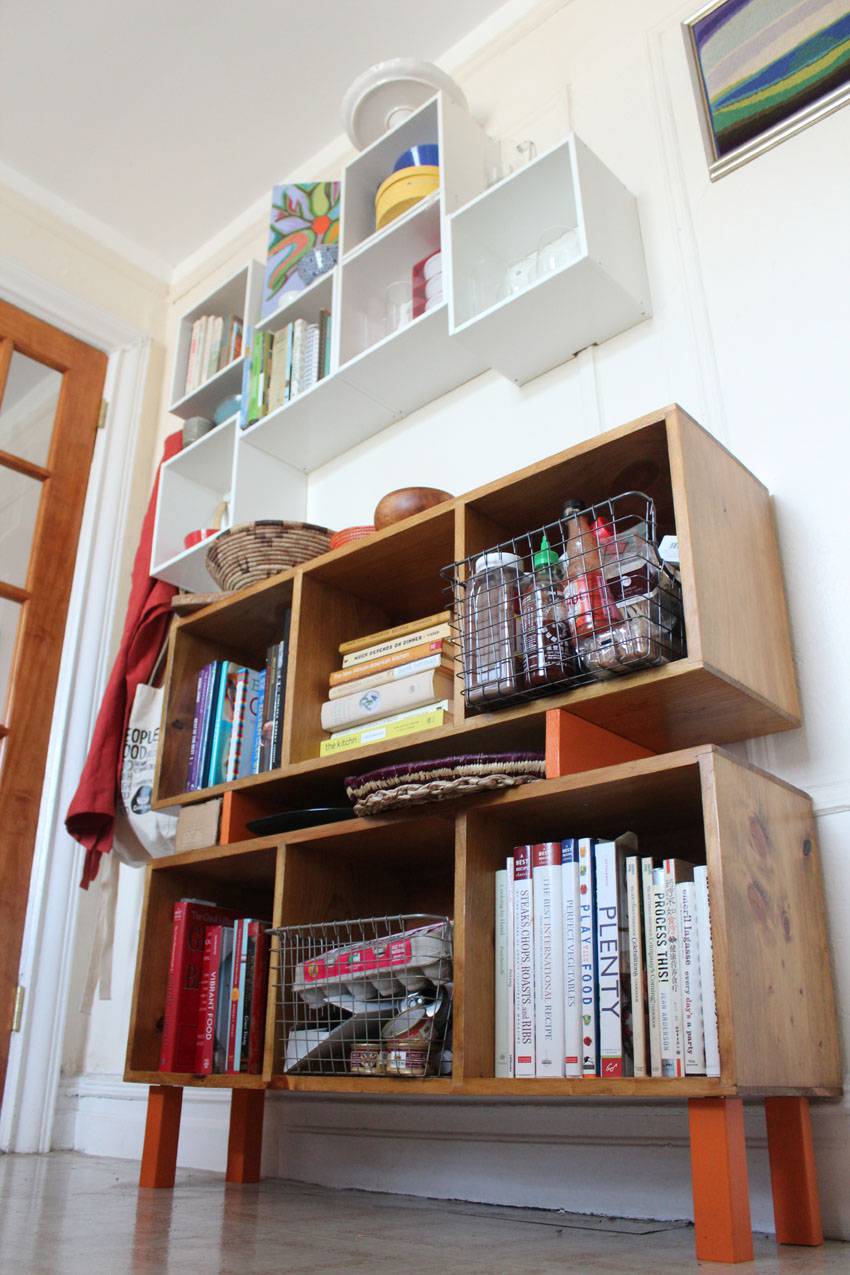
As much I love Pinterest, online recipes and my Kindle, I live for cookbooks in print. It’s been that way for more than ten years, since I started my cookbook collection in high school which now counts more than 70 volumes. I once stored these books atop my kitchen cabinets, but years of grease on the dust jackets convinced me to make a new home. I’d rather build my world than buy it – so now I have a fully custom piece of furniture that serves as a bookshelf, bar, and staging area for dinner parties. I love it so much I have to share how it came together!
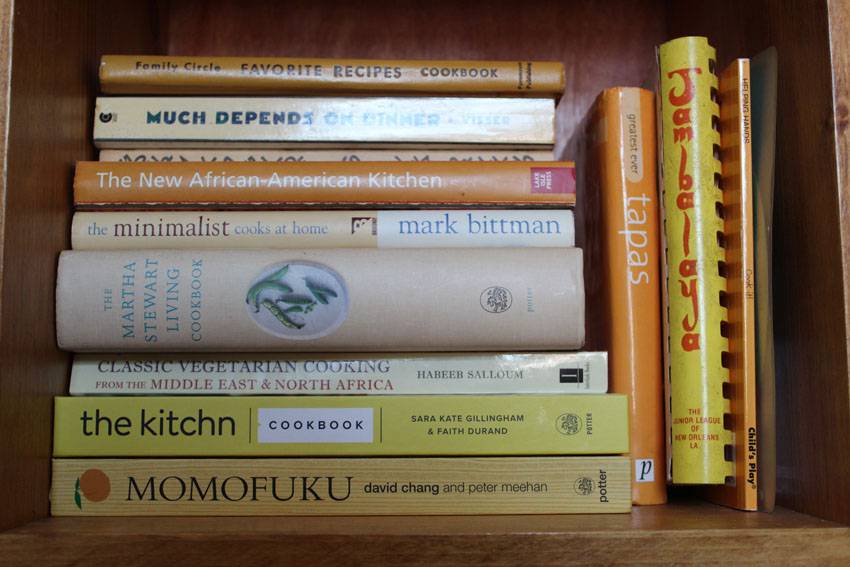
I’ve organized my cookbooks by color. Not only does it make the open shelving feel less cluttered, but, with my excellent visual memory, I can find the book I want in just a few seconds.
First things first, it took WEEKS of internet scouring– and measuring a billion times – to figure out what to do with the awkward space my kitchen allowed for a new piece of furniture. My stove, counters and sink are all along a single wall with the fridge jammed into the corner. The fridge is so close to the perpendicular wall that the door has to swing into the kitchen, requiring me to swivel my body around the door to get in and out of the fridge – the new shelf could be no more than 48″ wide. Opposite the fridge is a French door that swings into the same perpendicular wall with only about 7″ of clearance. To allow the door to open properly the shelf could be no more than 12″ deep.
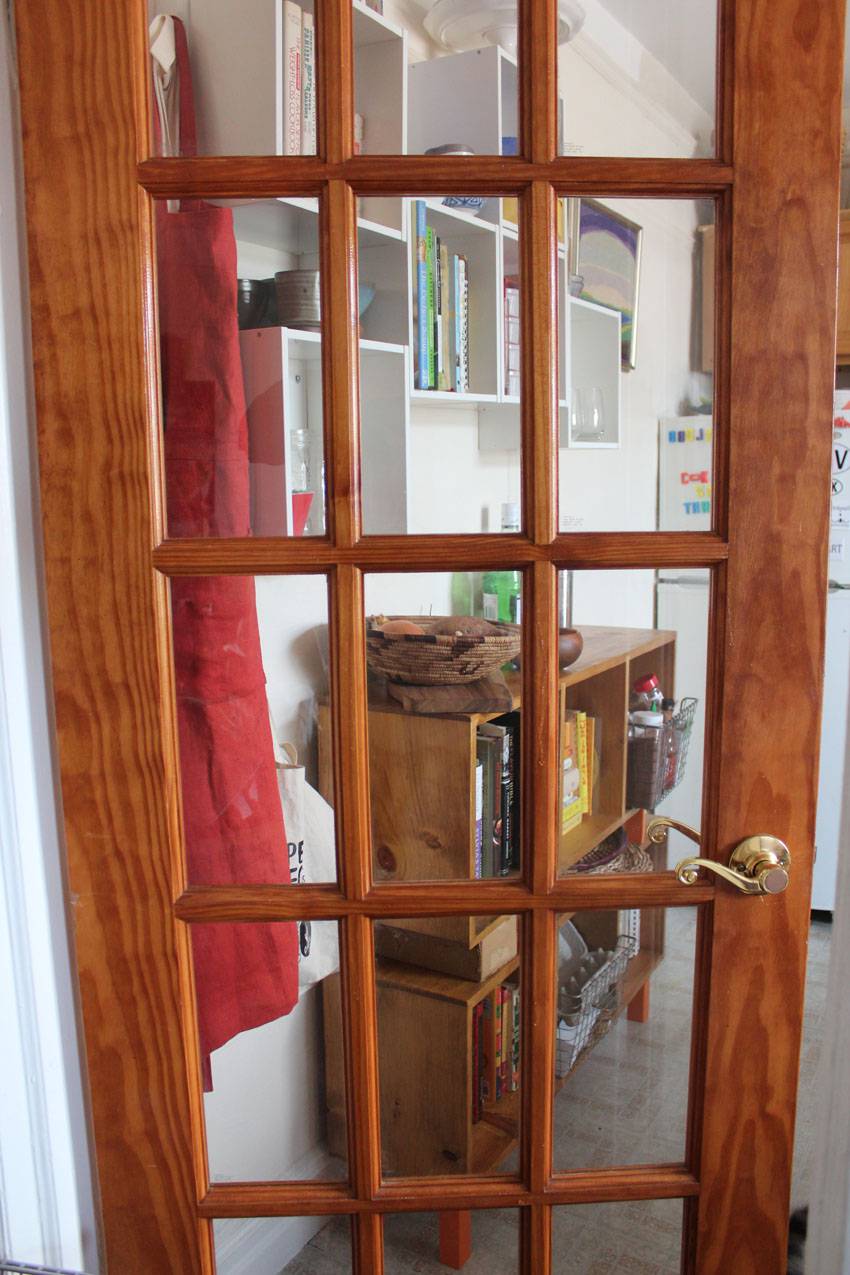
That awkward wall space seen through the French door to my living/sleeping/studio room. I arranged the upper cabinets, IKEA FÖRHÖJA, to create extra surfaces for my small dishware storage and add visual movement. I also added command hooks for my aprons and market totes. So much beautiful function and form!
Then, there were style requirements. I really wanted real wood with pops of color to coordinate with the rest of the orange and purple kitchen. I also like the clean lines of mid-century modern design, which would tie in nicely with my credenza-as-t.v. stand in the next room. Muuto designs kept capturing my attention but their grandiose price tag and minimalist design begs imitation. Boosted with confidence from step-by-step videos on YouTube, I had resolved to DIY the simple stacked boxes and proceeded to create a 2D mock-up to get comfortable with the layout. As I botched the mockup on my first try with paper and tape, I started to second-guess how would I create an even, level, and secure unit with wood and screws.
Just when I realized my limits as a carpenter, I passed the most perfectly simple wooden shelves outside of a housewares shop. The dimensions were perfect for two stacked rows of shelves and 8″ legs attached with simple t-nuts. Two 1×4″ boards were screwed in to create a gap between the shelving rows to take advantage of another horizontal surface for trays, platters and chargers. That last-minute idea was the kind of cheap and simple upgrade that makes DIY and semi-homemade furnishing so much better than picking something off of the shelf!
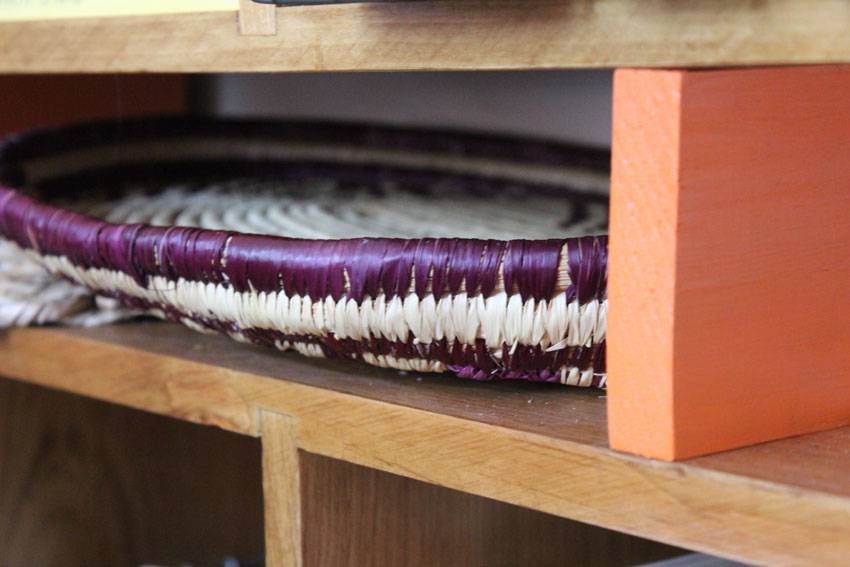
That little 1×4 makes such a huge difference! By creating space between the two shelves I have the perfect nook for my favorite trays.
To finish the wood, before screwing the unit together, I used a single coat of Puritan Pine Minwax stain, wiping the excess with a clean rag as quickly as possible. The shelves turned out a little darker than my table finished with the same product as the wood soaked up the stain rapidly. (Next time I’ll heed advice and condition the pine first!) Two coats of polyurethane finished the project, sanding between applications. The bar top got extra protection for spills from an extra coat of polyurethane.
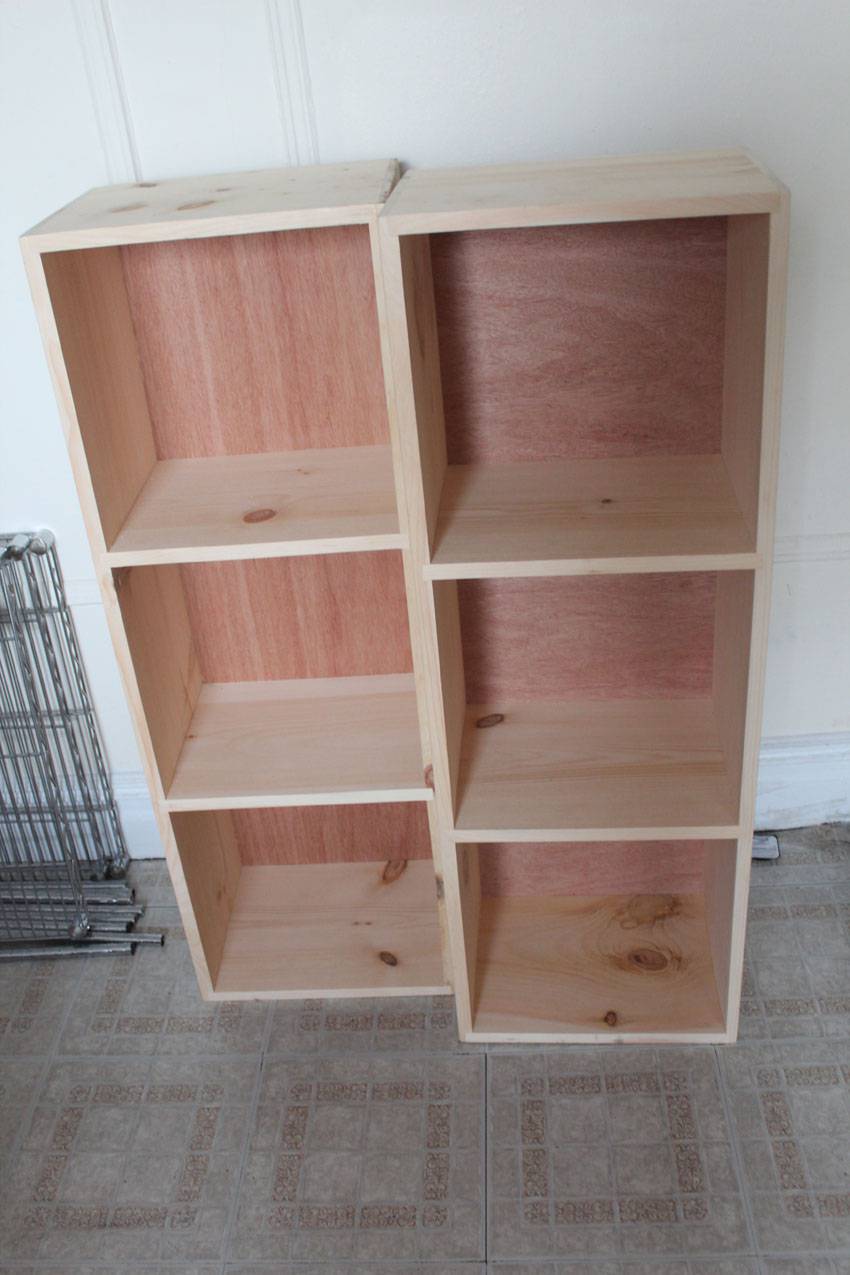
Sometimes a little serendipity leads to a great buy! I passed these cabinets on display at a local housewares shop and later called to confirm the dimensions and price. At $70 each they weren’t cheap, but since I could take them home in a quick cab ride, I saved on the usually unavoidable delivery fees. And again, I had total control over the end product, so that was worth a little extra as well.
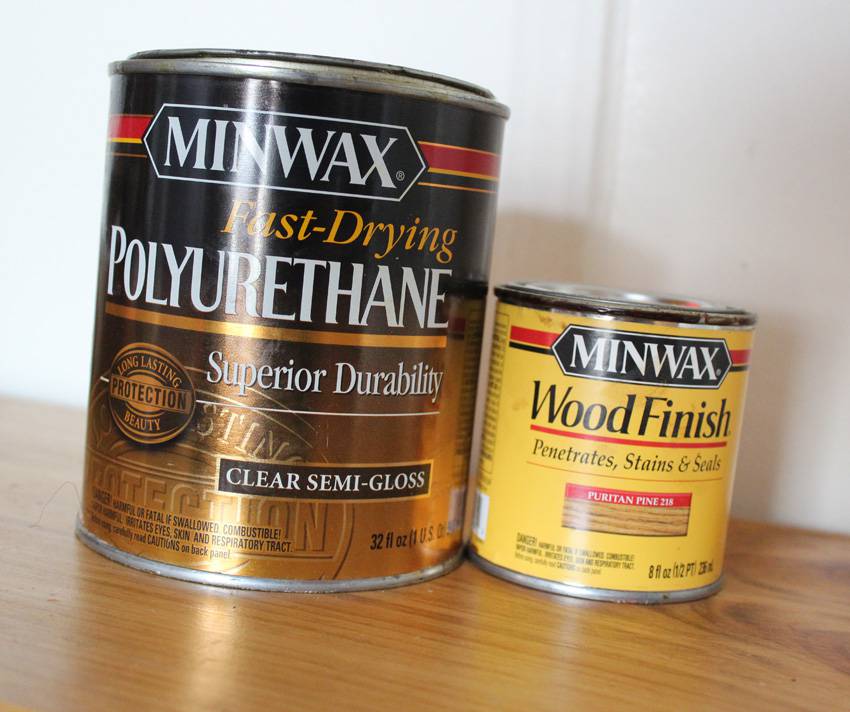
I used Puritan Pine stain plus polyurethane to finish the wood. This project took several days to complete as I followed the steps: (1) sand the shelves and apply the stain, wiping away quickly; (2) after the stain is dried, sand and apply the first coat of polyurethane; (3) once that dries, sand and apply a second coat of polyurethane; (4) wait for it to dry, sand and apply a third coat of polyurethane to the top to protect from spills.
A few books have been lost in moves or stolen by relatives but from now on my growing collection of cookbooks will have a safe, grease-free home in my kitchen. A home on a perfect piece of furniture I’ll be proud to say I built!
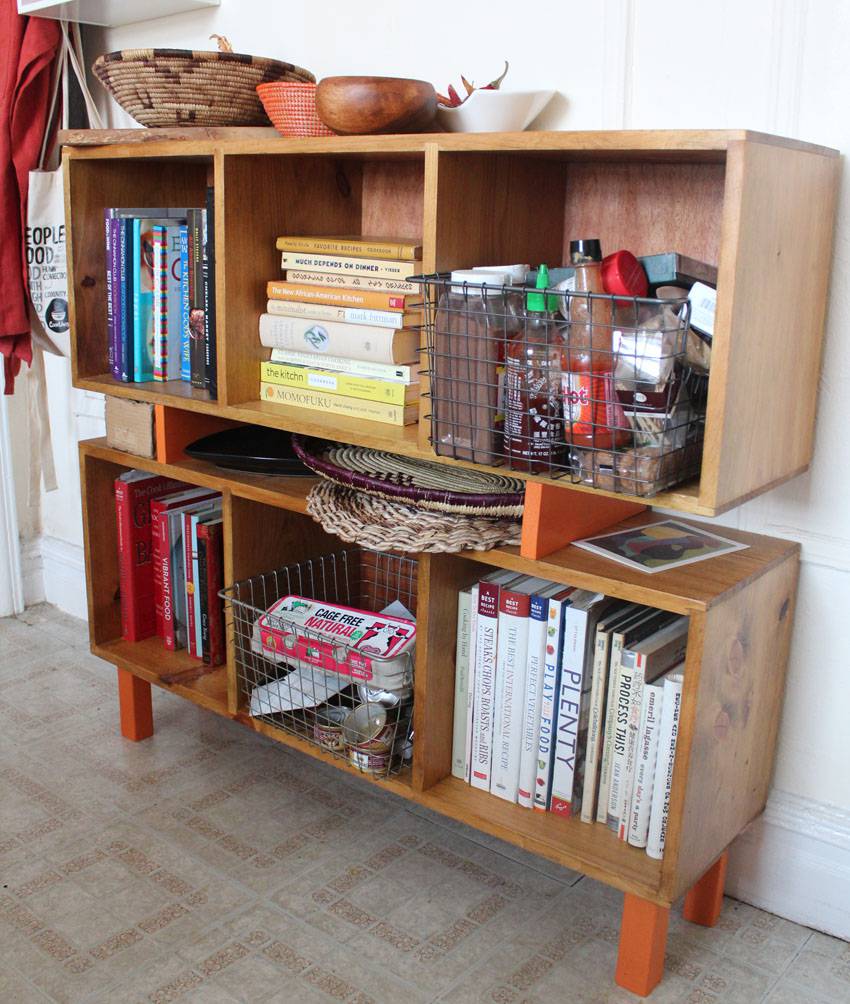
It was a little difficult to find baskets that fit my cubbies, but these wire baskets are working out well. In the upper right is a hodgepodge of extra spices and in the bottom center is much-needed access to a recycling bin.
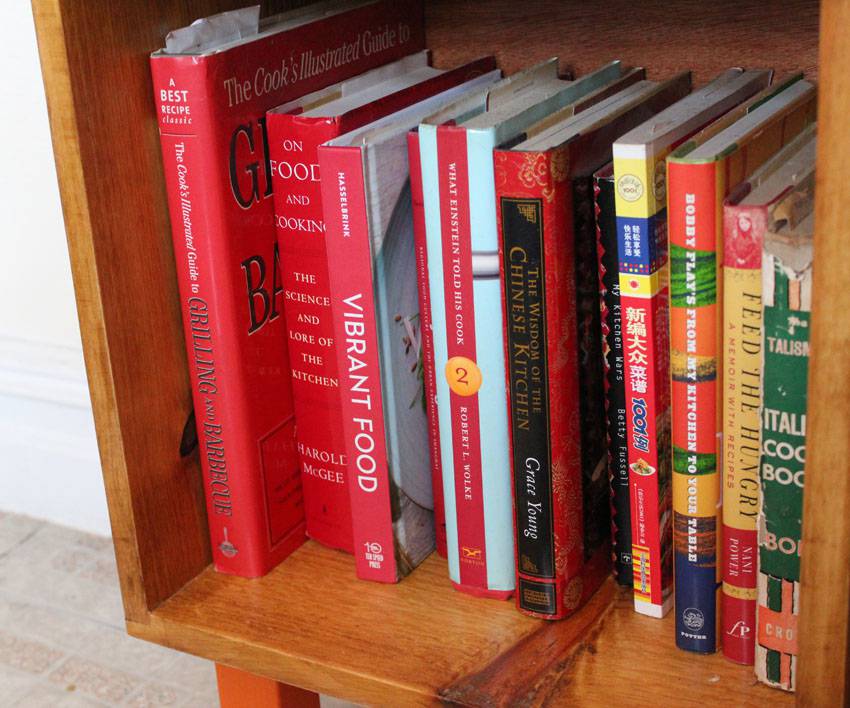
I love the imperfections in the wood. It took a bit of rotating to find the best way to show off the eyes.
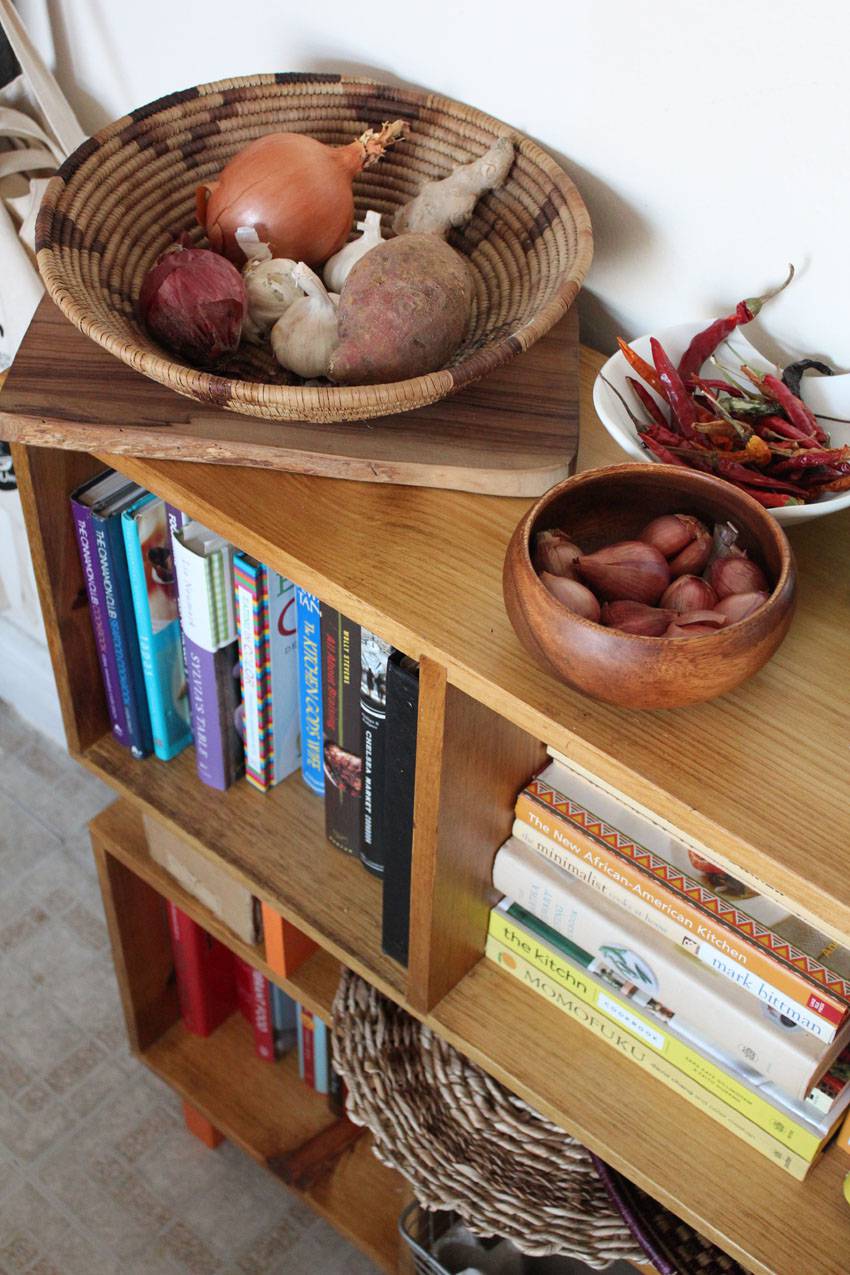
This unit is also the closest thing I have to a pantry. New York City Apartment life!
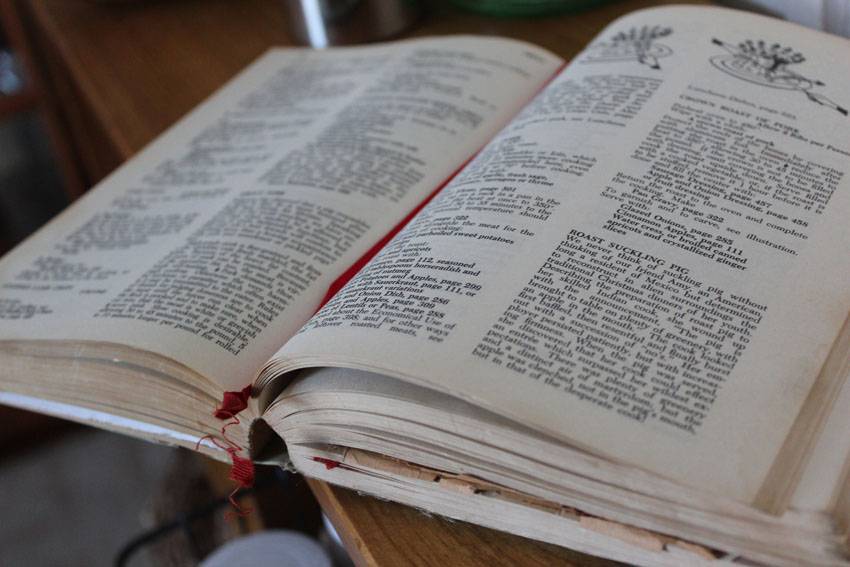
This is my oldest and most-worn cookbook: my grandmother’s copy of Joy of Cooking. The book has her personality in the pages with newspaper clippings of recipes from many decades.
Let me know if you like this post and if you’d like to see more inspiration and instructions for DIY projects in the kitchen and around the home!

Astounding and inspirational and would love to see more DIY.
Before I complained about the “lack of space” in my home and now I feel rather foolish after seeing what you accomplished in your apartment kitchen. It helps to be jolted out of my comfort zone and pushed off from the “silver platter” and realize how thankful I should be.
Cool project that looks great and is very functional.
Thanks so much, Liz! Sometimes you just have to inhale a bit of optimism and leap off of the silver platter! This might have been the extra push I needed to post a few more of my kitchen (and whole house!) DIY projects. Next up is probably how I turned my shotty little eat in kitchen into a room that could easily seat 8-10 for a dinner party; a continuation of this post: http://runawayapricot.com/2013/10/banquette-seating-inspiration-for-my-kitchen-update.html/
I love the results of your bookshelf!