I’ve always loved colorful, patterned backsplashes. To me, they represent comfortable home ownership – a semi-permanent design investment that you’re not worried about a next homeowner enjoying as much as you do. In other words, if you love purple, defy your broker/realtor and put purple in the kitchen, as I did. (Everything’s always neutral on Buying and Selling with The Property Brothers!) But since I’m not a homeowner and can’t install tiles in my kitchen backsplash, I’ve added a bit of color and pattern with paint. Less cost and less permanence with less sacrifice on the style.
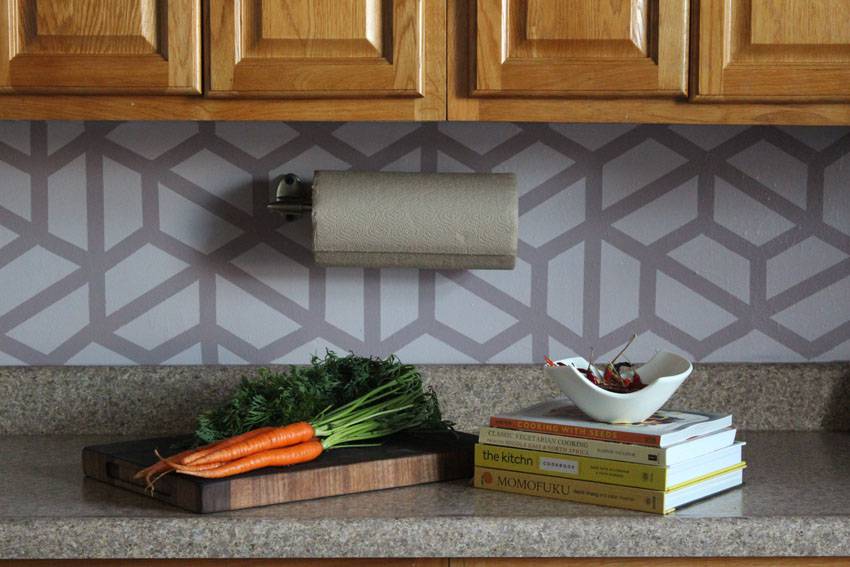
Before you paint a backsplash it’s important to consider your landlord’s restrictions, how long you want to stay in the rental, and how much effort and expense you’re willing to spend to get the backsplash back to neutral for the next renters. When I first moved in I wasn’t sure how long I wanted to maintain my year-to-year lease, so rather than painting directly on the backsplash wall, I painted a herringbone pattern on contact paper and attached it above the counter. It was a beautiful solution but after about two years the heat and humidity from the stove began to dry out the adhesive and wrinkle the contact paper until, at three years, one section pulled off of the wall completely. Now that I’ve signed onto my lease for another year, I’m ready to commit to painting the wall directly.
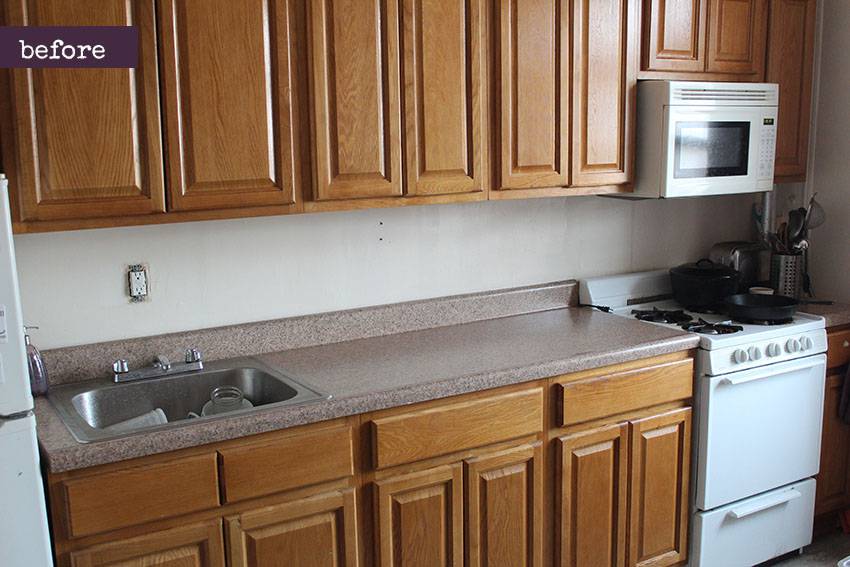
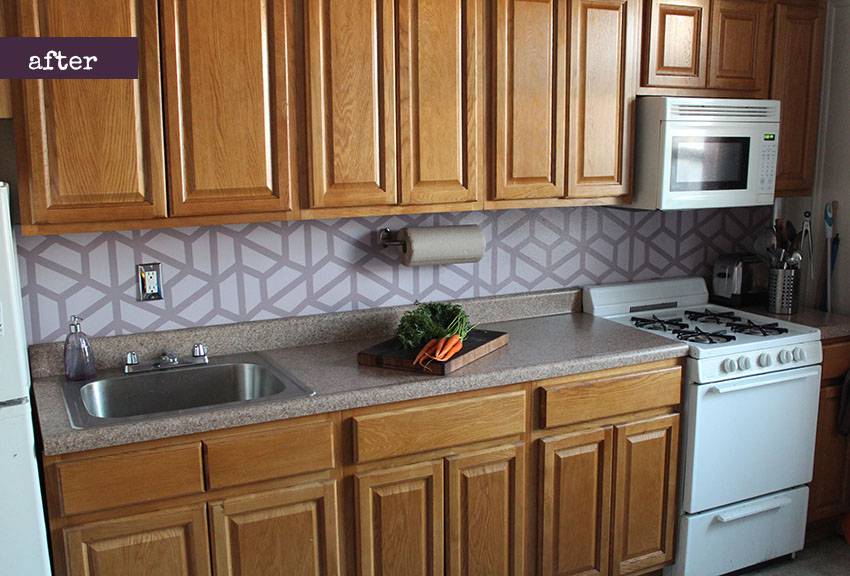
To get the right color and pattern I studied tiles, fabrics and illustrations for weeks to find a concept that matched these three criteria:
- Not too many colors = my kitchen is probably already a minimalist’s nightmare
- Not too busy looking = see above
- Easy to execute = reduced room for error
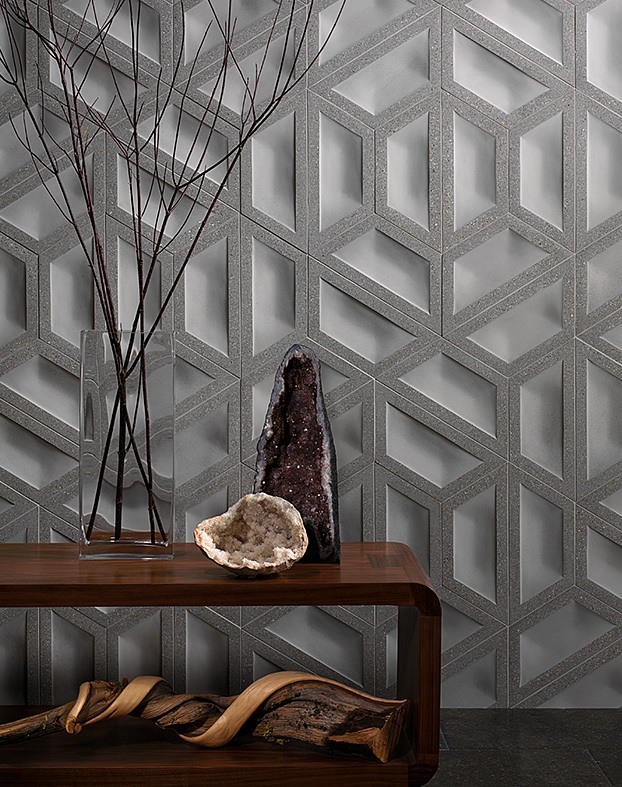
This incredible tile pattern stood out. A part of the Geode collection designed by Andy Fleishman for ANN SACKS, the darker edge of the tile has a rough feel while the lighter part is smooth and concave. Since the hexagonal shape of each tile is bisected with a split line that matches the joints of two tiles, the pieces can be stacked and rotated to create more interest in random or intentional groupings of shapes. I love how it preserves the simplicity and normality of the hexagon/honeycomb pattern but feels so much more bold, contemporary and artistic!
To mimic the two textures of this stone tile in paint, I found two colors in the same hue: BEHR’s Mulberry Stain and Fig Preserves. Aside from the fact that those are super cute foodie names, the two colors are relatively neutral purples that would pick up on the colors in my laminate counters and complement the purples and oranges throughout my kitchen. I chose Ultra Premium paint to get excellent coverage with one coat of each color. With all of the creativity complete, here’s the full how-to on how to bring the vision to life!
Step 1: Gather your materials. For this project you’ll need:
- Cardboard
- Marker
- String or wire
- Scissors or Box Cutter
- Paint – a quart of each color
- Painter’s Tape
- Small painting roller for semi-smooth surfaces
- Paint pan for roller
- Paint brushes (about 1″-ish and a really small one)
- Level
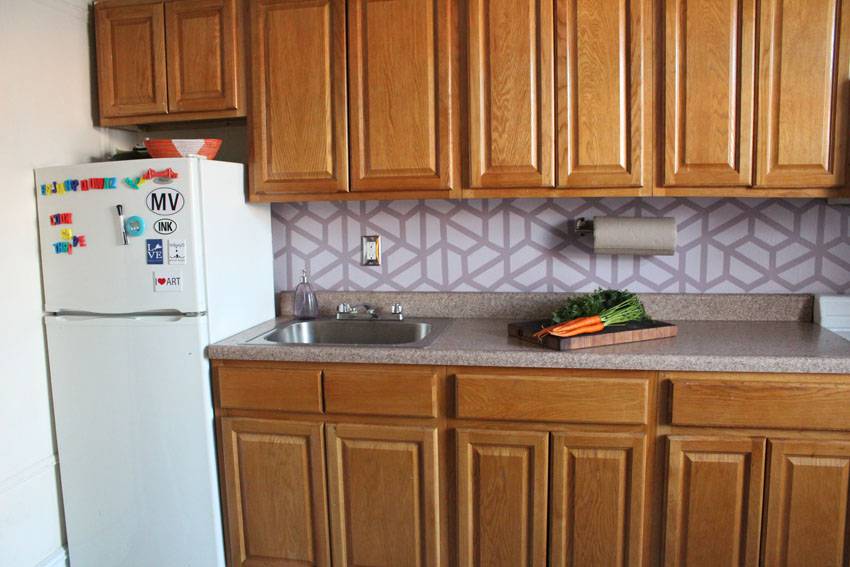
Step 2: Measure the space of your backsplash or wall and determine the size you want to make the hexagon in the pattern.
My backsplash is 13 7/8″ tall and 10 feet wide. I chose to make my hexagons about 6″ at their widest part and about 3″ on each side so I could have a few rows from counter to cabinets while not making the design too tedious. Remember to factor in the width of the tape you’ll use to revel the darker color – I used .94-inch blue painters tape for the right balance.
Step 3: Create a guide with cardboard to mark the shape of your hexagons on the wall. Corrina Ashley has an excellent method for making the guide that requires minimal geometry. It starts with drawing a circle with radius the length of each side of your hexagon. Then, mark around the circle for every 3 inches until your points meet up again. Connect those points around the edge to create the hexagon. and cut along the straight lines you create. Watch her video to see the method in action:
Once your stencil is made, hold it up to your wall to make sure you like the size.
Step 4: Tape off your cabinets and your countertop so the paint doesn’t get everywhere.
Step 5: Using a smooth, small roller, paint the backsplash/wall with the darker color. Allow it several hours to dry completely.
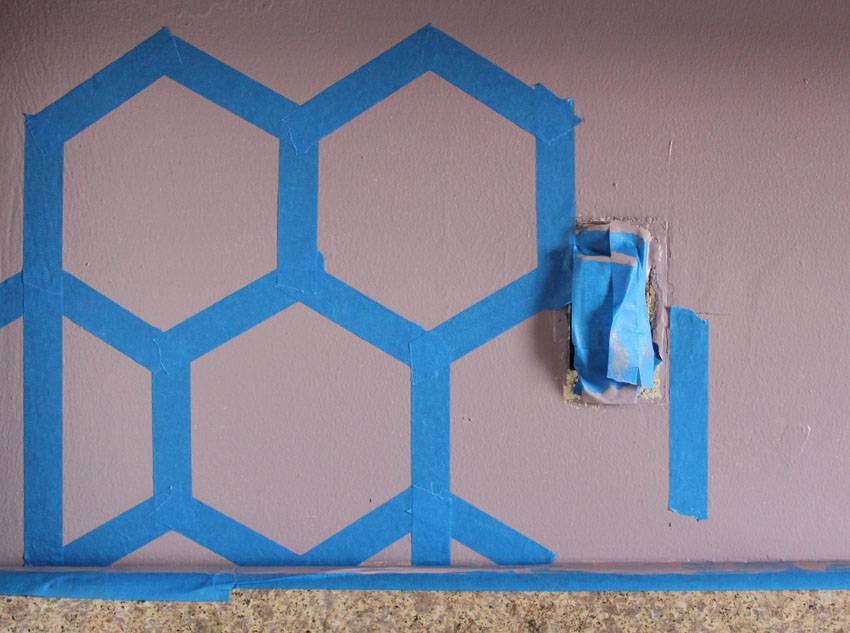
Step 6: (The tedious step.) Use the guide to tape off the hexagons on the wall. First think about how you want the rows to line up on the horizontal. I chose to have the hexagons resting on the counter’s short backsplash. Starting a couple of distances from either the left or right use a level to create a level vertical with one side of the hexagon guide and tape it in place. Tape all around the hexagon to finish the shape on the wall. Shift the guide over to align with the outer edge of the tape and tape around the guide to complete the next shape. Continue until your wall is covered with the hexagon shapes.
When working with the tape it helps to pull multiple short pieces at once and stick them to the edge of a cabinet so you can keep working around each hexagon without stopping constantly.
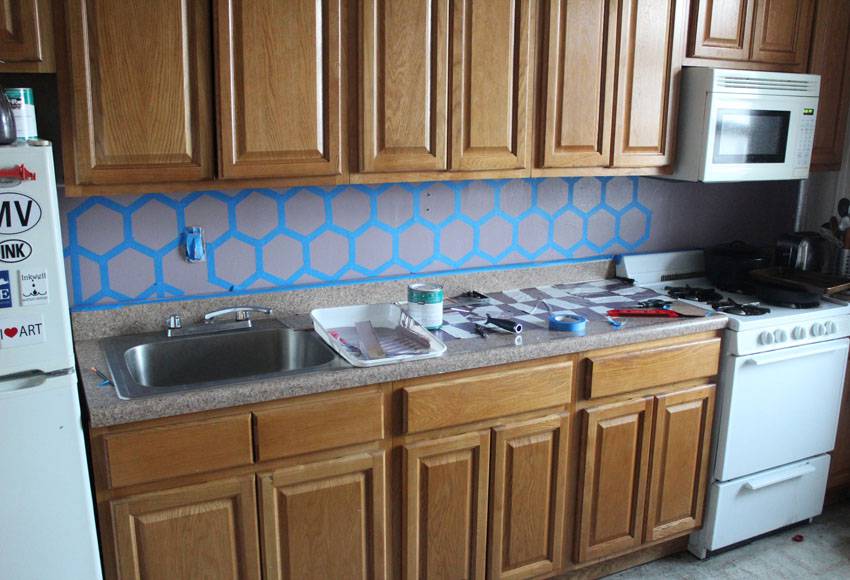
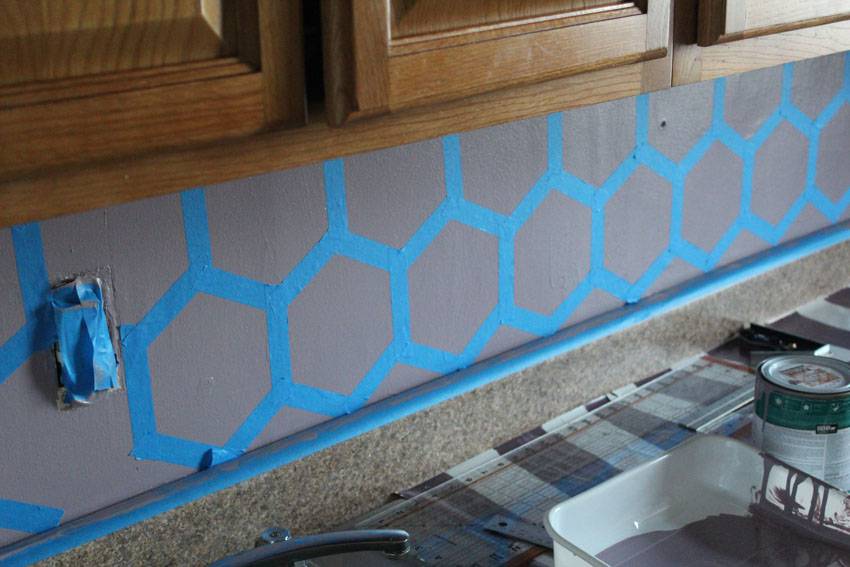
Step 7: Create the lines bisecting the hexagons from corner to corner. Work your way across the wall in a relatively random pattern to create some movement. Since a point of my hexagon faced up, all of my bisecting lines are either up and down or along a diagonal. Take a step back and review your layout. If you notice repetitiveness, switch around the tape until you find the pattern you like. (This might be a great point to sleep on it and take another look with fresh eyes.)
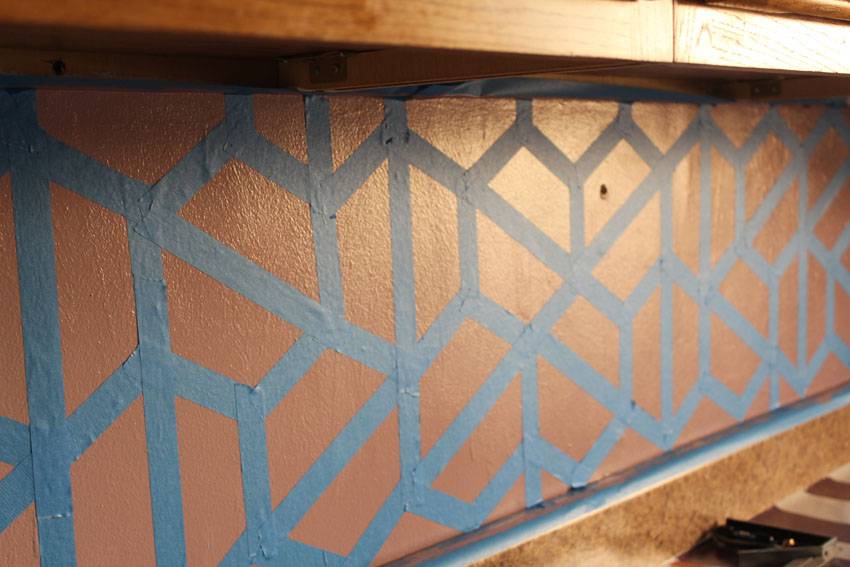
Step 8: Use a paint brush to go over the edges of the tape with the same darker color to seal the tape to the wall. This step might seem unnecessary, but it helps to prevent bubbles of the top color from gathering under the edges of the tape. When you eventually peel the tape away to reveal the base color you’re left with clean lines. Allow a few hours to dry.
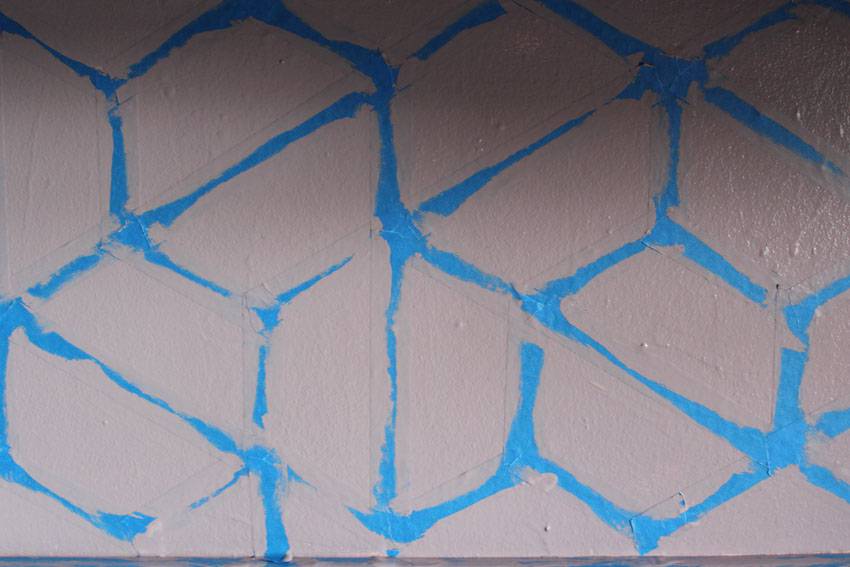
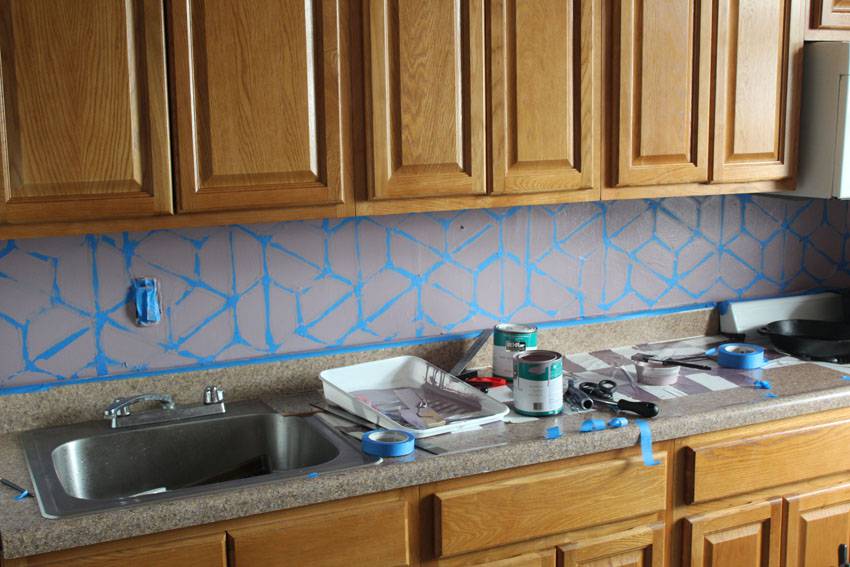
Step 9: Paint over the wall with the lighter color and pull the tape away while the paint is still very wet. If you have a large wall consider doing this in stages so the paint does not dry before you are done.
Step 10: Use a small paint brush to touch up any messy lines or uncovered areas.
Step 11: Marvel at your brand new backsplash and Instagram it with #RunawayApricot so I can see!
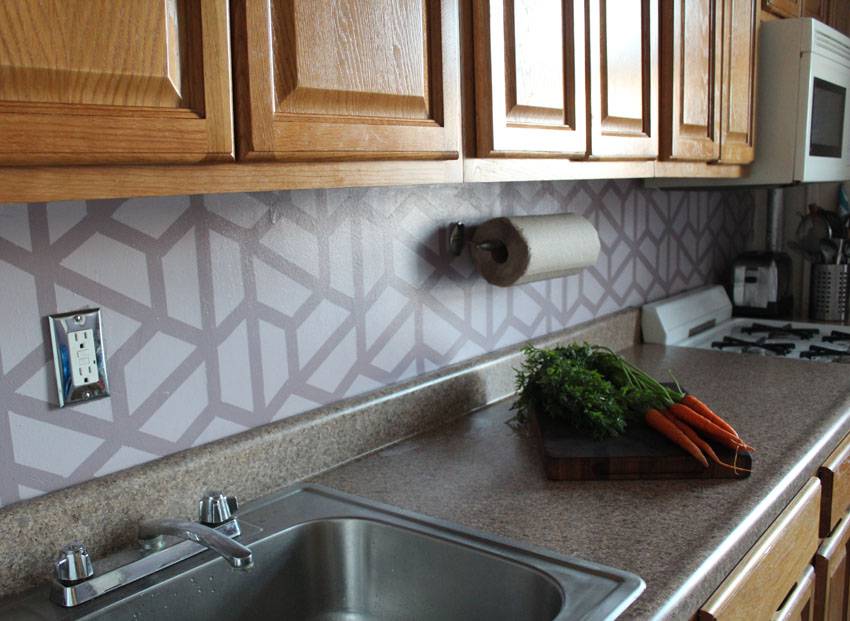
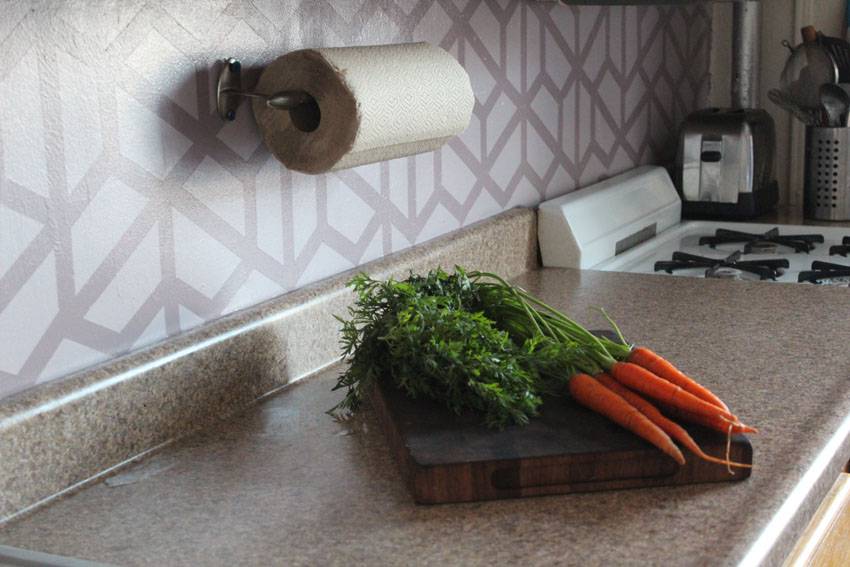
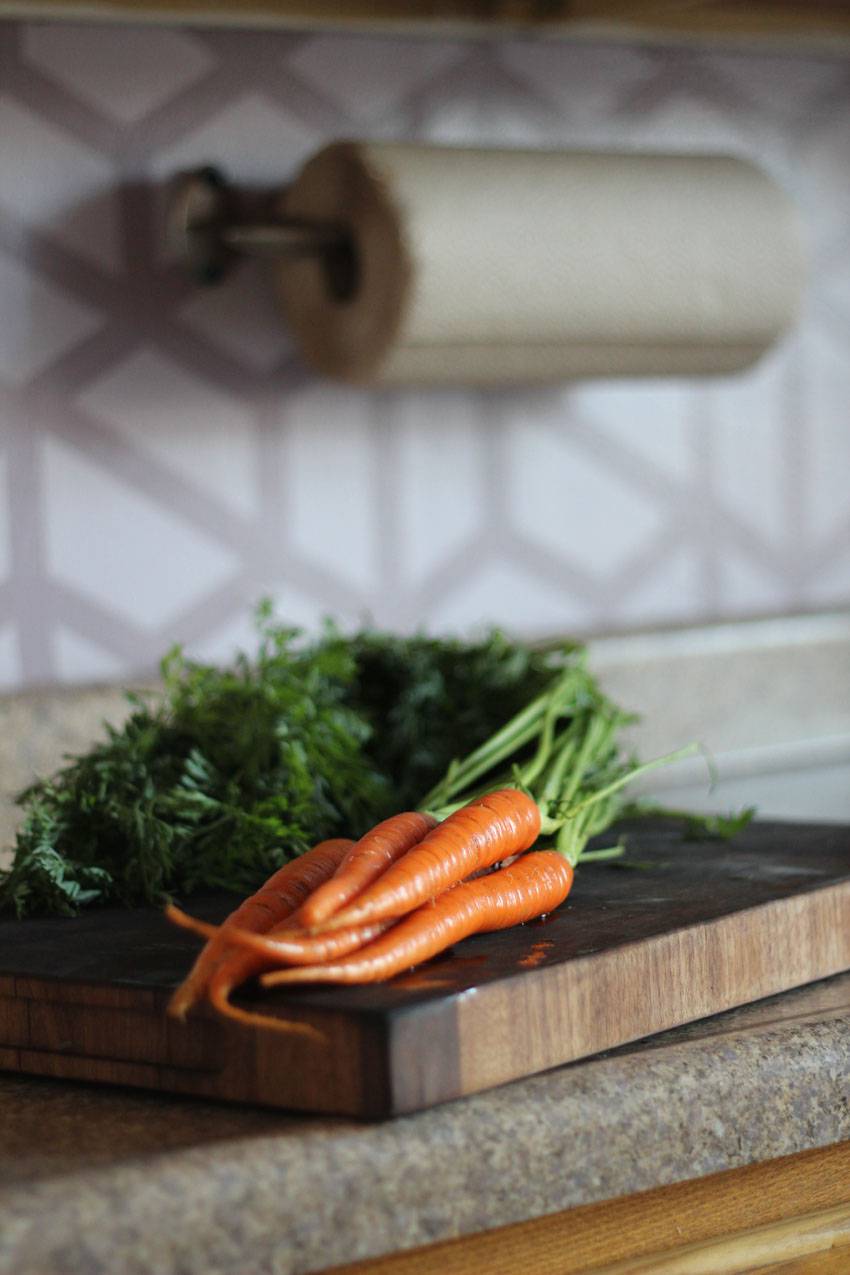
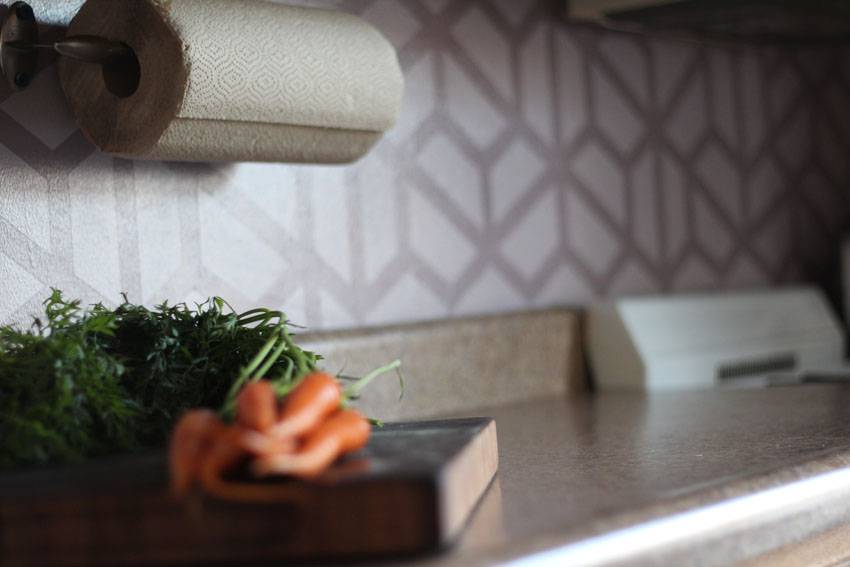
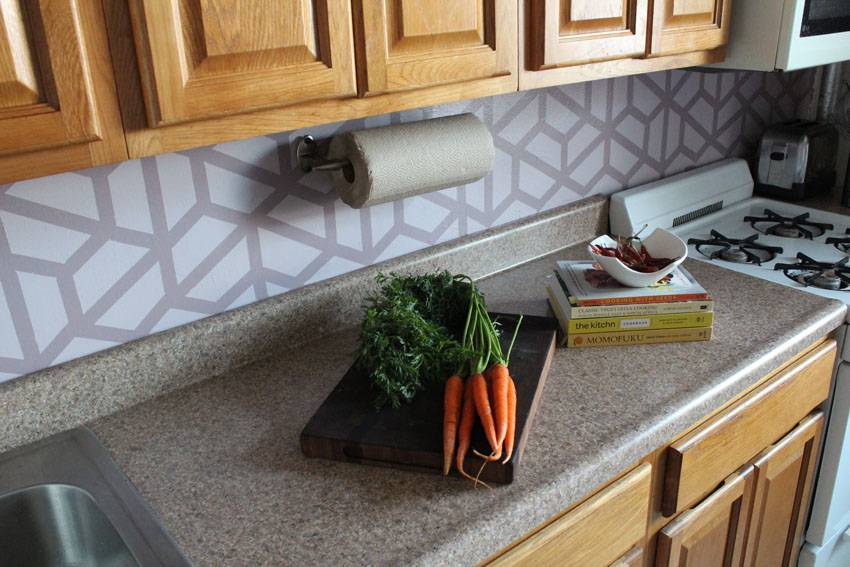
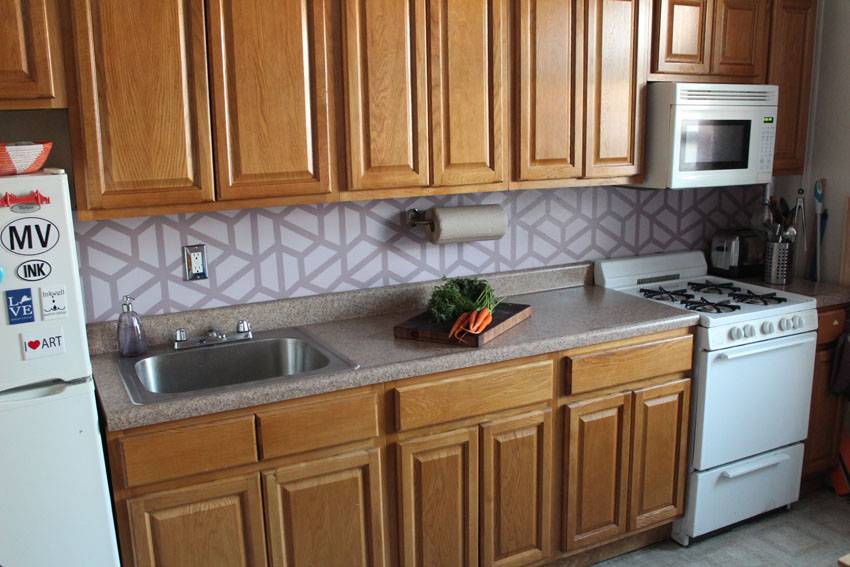
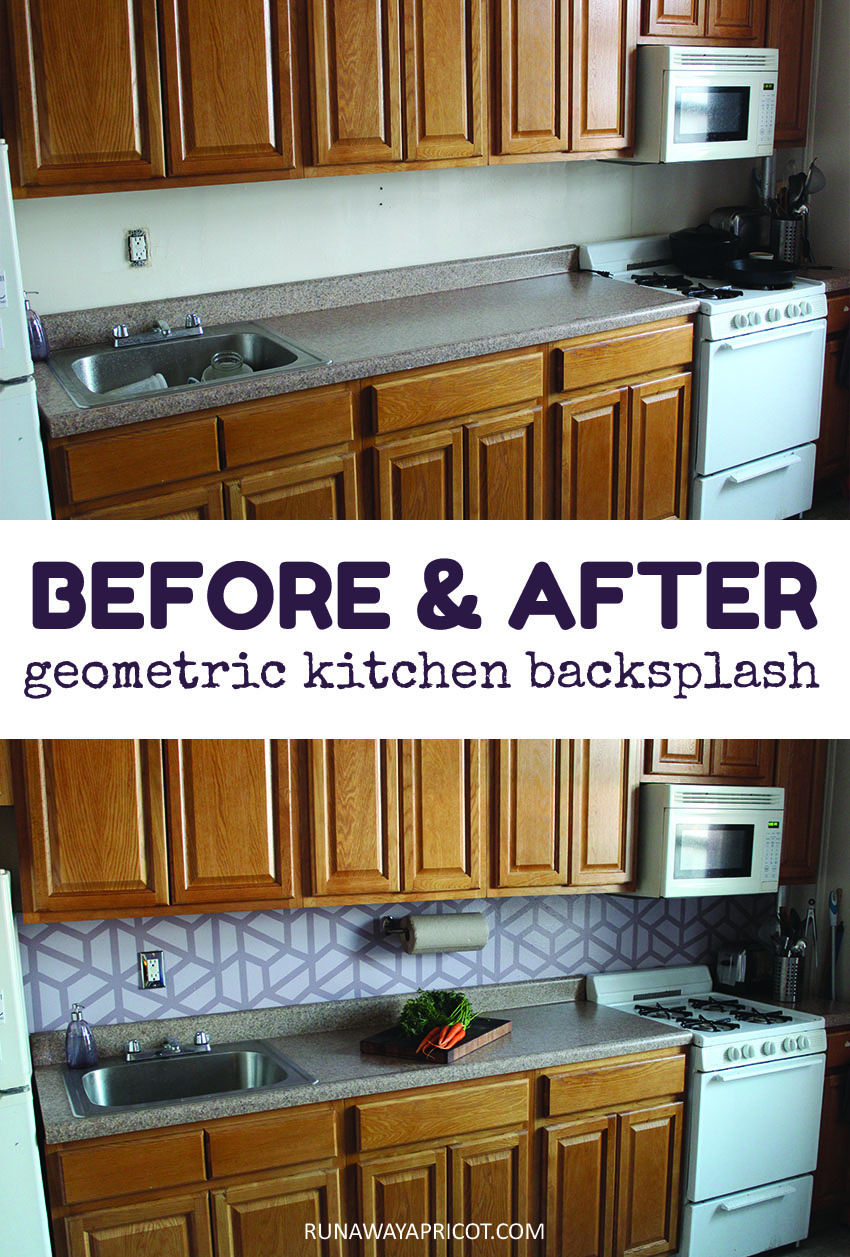
I just love how it turned out! The colors glow warmly with the sunset and are cool and bright while I’m cooking. And, aside from the tedium of taping off the pattern on the wall, it was easy to execute, costing less than $50 and two days’ time. Let me know what you think and definitely send me pictures if you add this little pop of pattern to your own home!

It was certainly unexpected to come across your blog. You clearly do nice, careful, and thoughtful work, an honor that after your extended careful search you picked my tile pattern.
Andy
I absolutely love the pattern and texture! When I can do a more permanent solution, I’ll come looking for more of your work – to purchase this time.
-Robyn